Key Takeaways:
- Victorian pine requires a specific grit sequence starting at 40-grit Zirconia to remove layers of ‘Victorian Black’ bitumen.
- Gap filling with a mix of resin and fine sawdust (80-100 grit) is essential for draughtproofing and aesthetic consistency.
- Osmo Hardwax Oil is the gold standard for period homes due to its breathability and ease of local repair.
- Moisture content must be verified (ideally 8-10%) before applying any professional-grade finish.
The Problem: Century-Old Neglect and the ‘Victorian Black’ Bitumen Challenge
Many British homeowners pulling back aged carpets in their Victorian terraces are met with a discouraging sight: blackened, draughty, and uneven timber floorboards. These floors have often endured decades of neglect, hidden under linoleum or thick wool carpets. The most notorious obstacle is the ‘Victorian Black’—a thick, bitumen-based paint traditionally applied to the edges of rooms. To the untrained eye, these floors look beyond repair, seemingly fit only for replacement.
The Agitation: Why a Simple ‘Sand and Varnish’ Isn’t Enough
If you approach a heritage restoration with a DIY mindset or substandard equipment, you risk destroying the very character you seek to preserve. Using domestic rental sanders often leads to ‘chatter marks’—ripples in the timber caused by unbalanced drums. Furthermore, failing to understand the moisture content of the wood or the unique tannin pull of old-growth pine can lead to a finish that peels within months. In the UK’s humid climate, the wrong finish can trap moisture, leading to cupping or even structural decay of the floorboards.
The Solution: A Professional Heritage Restoration Framework
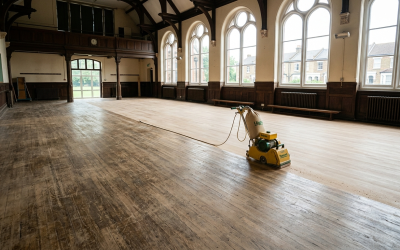
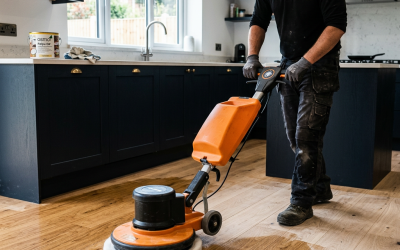
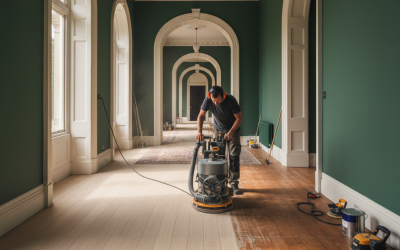
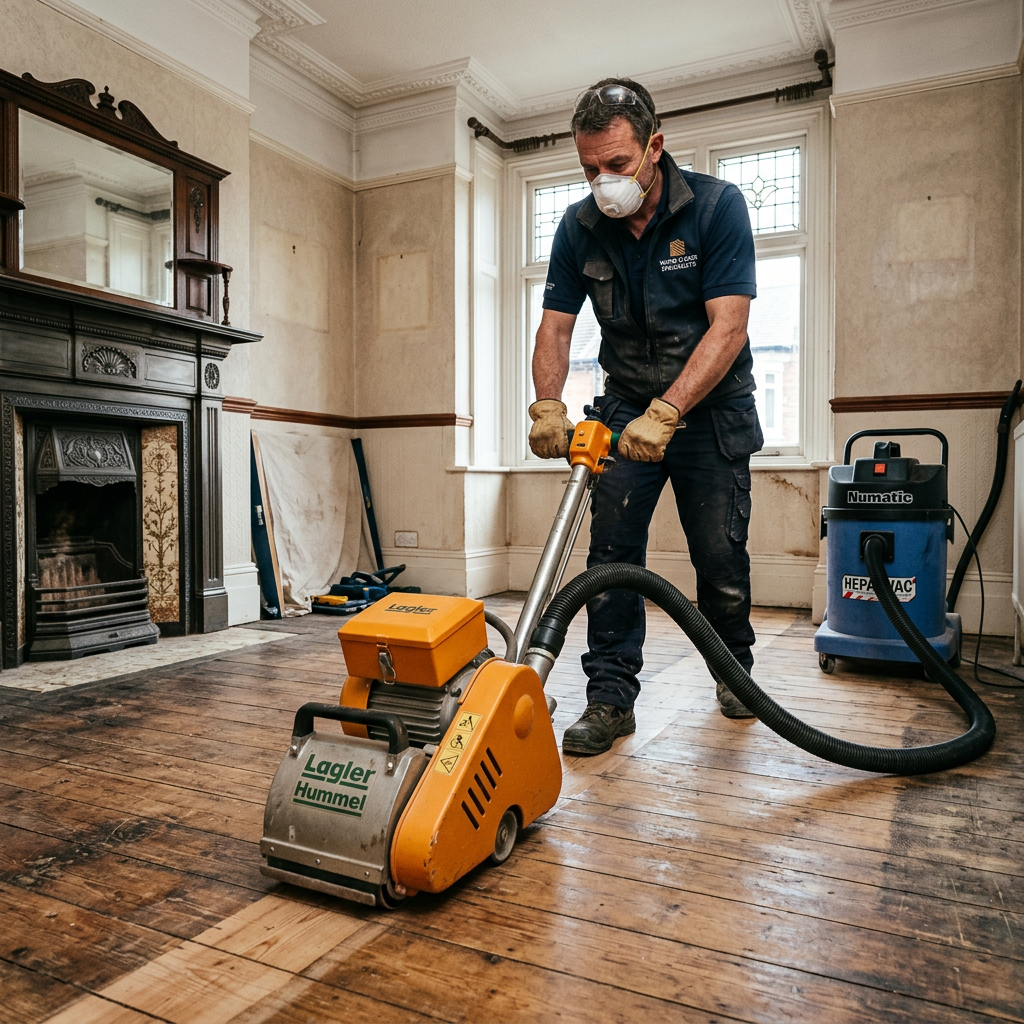
Restoring these floors requires tradesmen who understand the nuance of 19th-century construction. Our process begins with a structural survey to ensure every board is secure. We then employ the Lagler Hummel or Bona Belt machines, integrated with Bona Vacuum Dust Extractors for a truly 99.9% dust-free environment.
The Grit Sequence: Mastering the Cut
For uneven Victorian pine, we typically start with a 40-grit Zirconia abrasive. This heavy-duty paper is essential for cutting through the bitumen and leveling the boards without overheating the timber. We then progress through 60-grit and 80-grit, ensuring each pass removes the scratches of the previous sequence. Pro-Tip: Never skip a grit; the jump from 40 to 80 is too large and will leave visible sanding marks once the oil is applied.
Gap Filling and Resin Technology
To eliminate draughts, we use a gap filling technique. This involves mixing fine sawdust from the 80-grit sanding pass with a high-quality resin like Bona Mix & Fill. This ensures an exact colour match. For larger gaps, we use reclaimed pine ‘slivers’ to maintain the structural integrity and historical accuracy of the floor.
The Finish: Osmo Hardwax Oil vs. Water-Based Lacquers
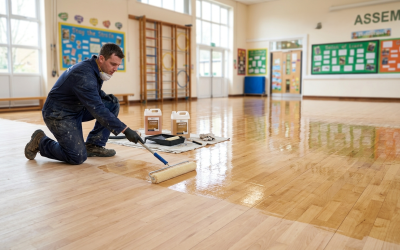
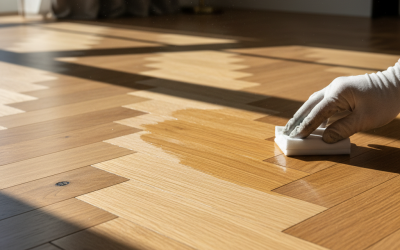
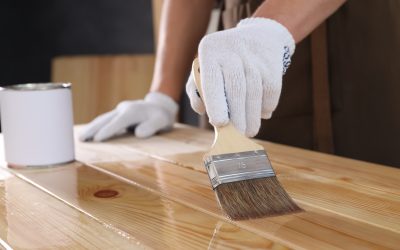
In period domestic settings, we often recommend Osmo Hardwax Oil. Unlike film-forming lacquers, hardwax oil penetrates the grain, allowing the timber to breathe. This is crucial in older properties where moisture levels fluctuate. In the UK humidity, we recommend a minimum of 8-12 hours between coats, with a light buffing using a Bona Flexisand and a maroon pad between applications to achieve a silky-smooth tactile finish.
If you are looking for professional floor sanding services that respect the history of your home, contact us today for a bespoke quote, including a full breakdown of VAT and material costs.
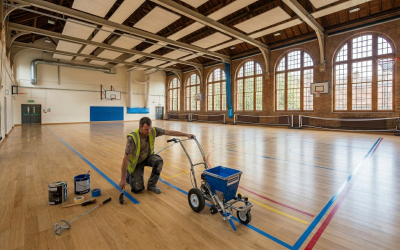
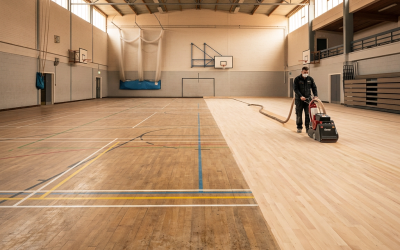
For more insights into specific timber types, read our previous post on the ultimate beginner’s guide or explore our guide on products that don’t film. For commercial enquiries, see our work on large-scale sports hall refinishing.