Preparing Your Tottenham Floorboards for Sanding Success
There’s something uniquely satisfying about unveiling the hidden beauty beneath a worn wooden floor. In Tottenham’s period terraces and modern flats alike, timber boards often harbour stunning grain patterns simply waiting to be revealed. Whether you’ve just moved into a Victorian maisonette off Seven Sisters Road or you’re refreshing the family living room near Bruce Grove, one thing is clear: a flawless sanding job can transform the entire space. For anyone starting out, Wood Floor Sanding Tottenham is both an art and a science—yet, with the right guidance, even a first-timer can achieve truly professional results.
1. Understanding the Basics
1.1 What Is Wood Floor Sanding?
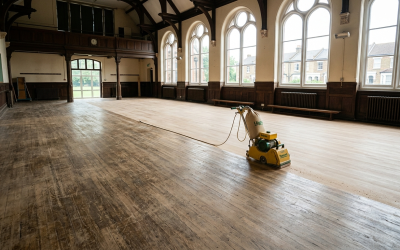
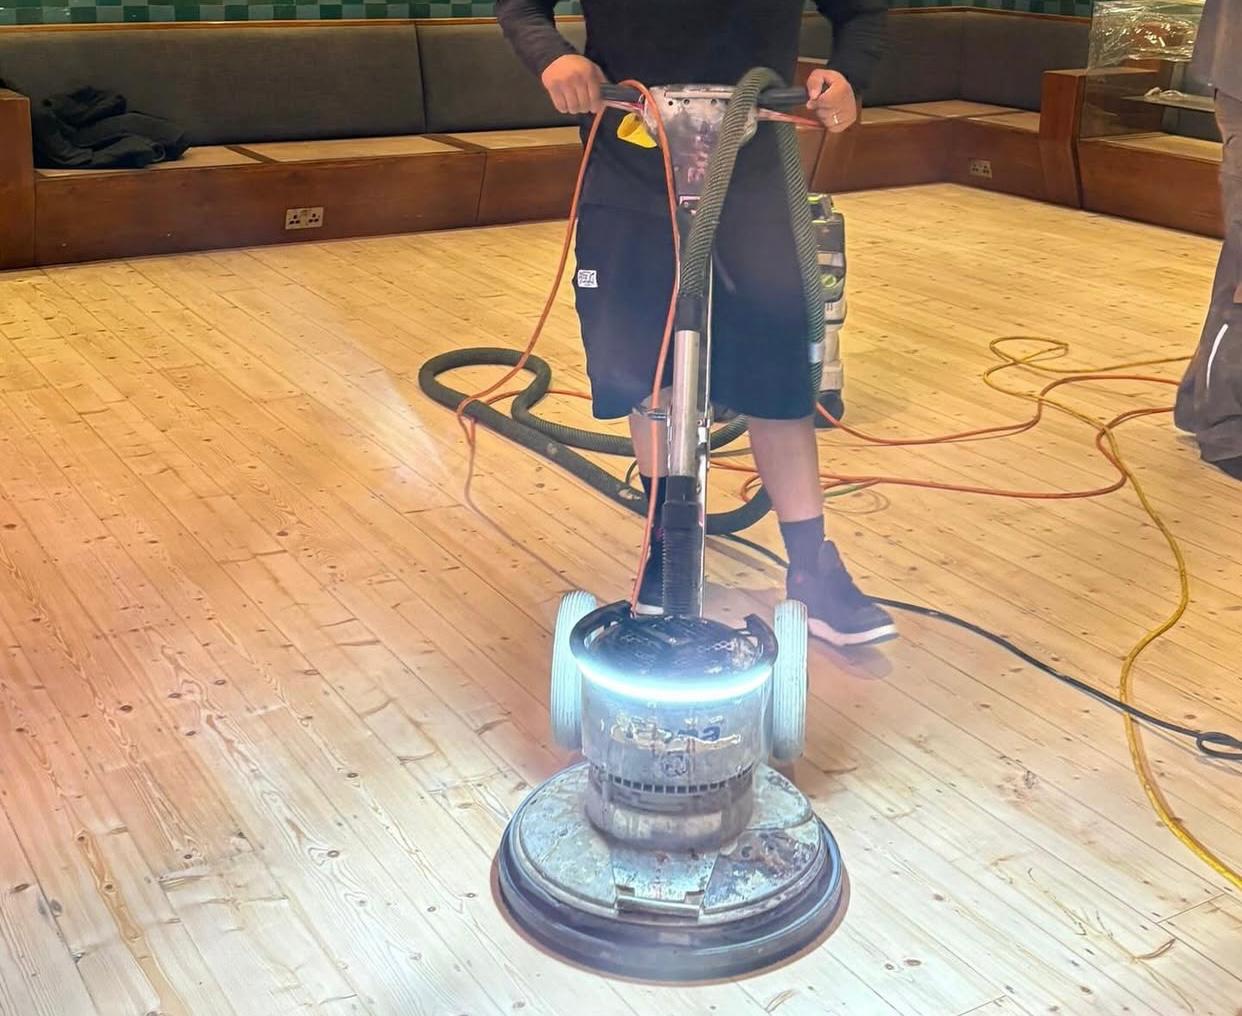
Put simply, sanding removes the top layer of a timber floor—scratches, old varnish, paint and minor gouges—using progressively finer abrasives. The process levels the boards and opens the pores of the wood, readying it to absorb stain or finish.
1.2 Tottenham’s Timber Telltales
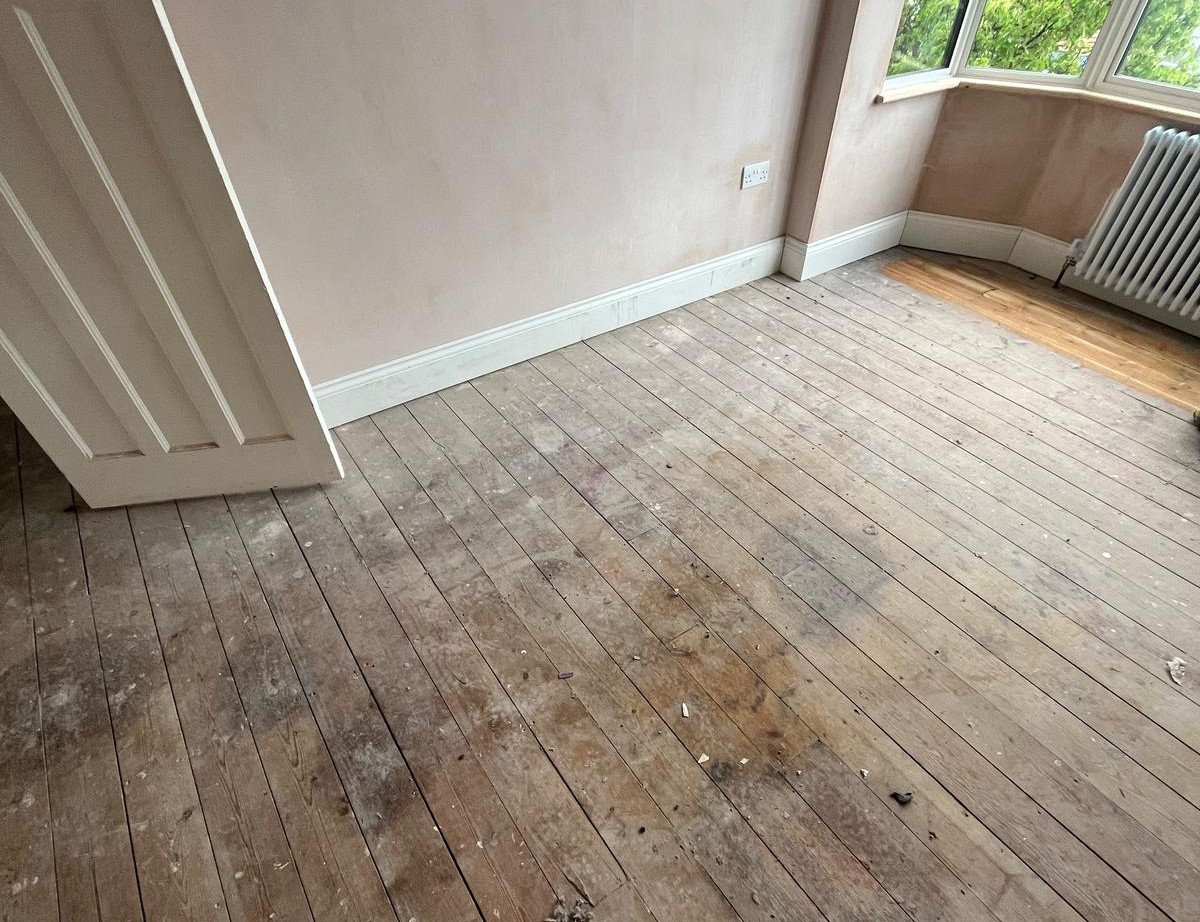
Many of North London’s homes boast pine, oak or even original mahogany boards. Age, moisture and footfall all leave their marks. Before hiring a machine, inspect for:
- Loose boards or nails
- Deep stains (pet urine, water)
- Previous repairs or patches of plywood
- Old adhesive from long-gone carpets
If you spot any of the above, plan remedial work before firing up a sander.
2. Tools of the Trade
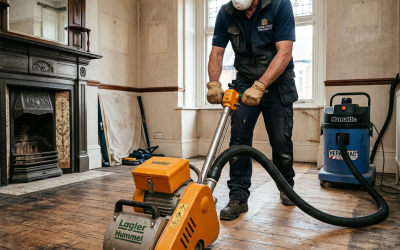
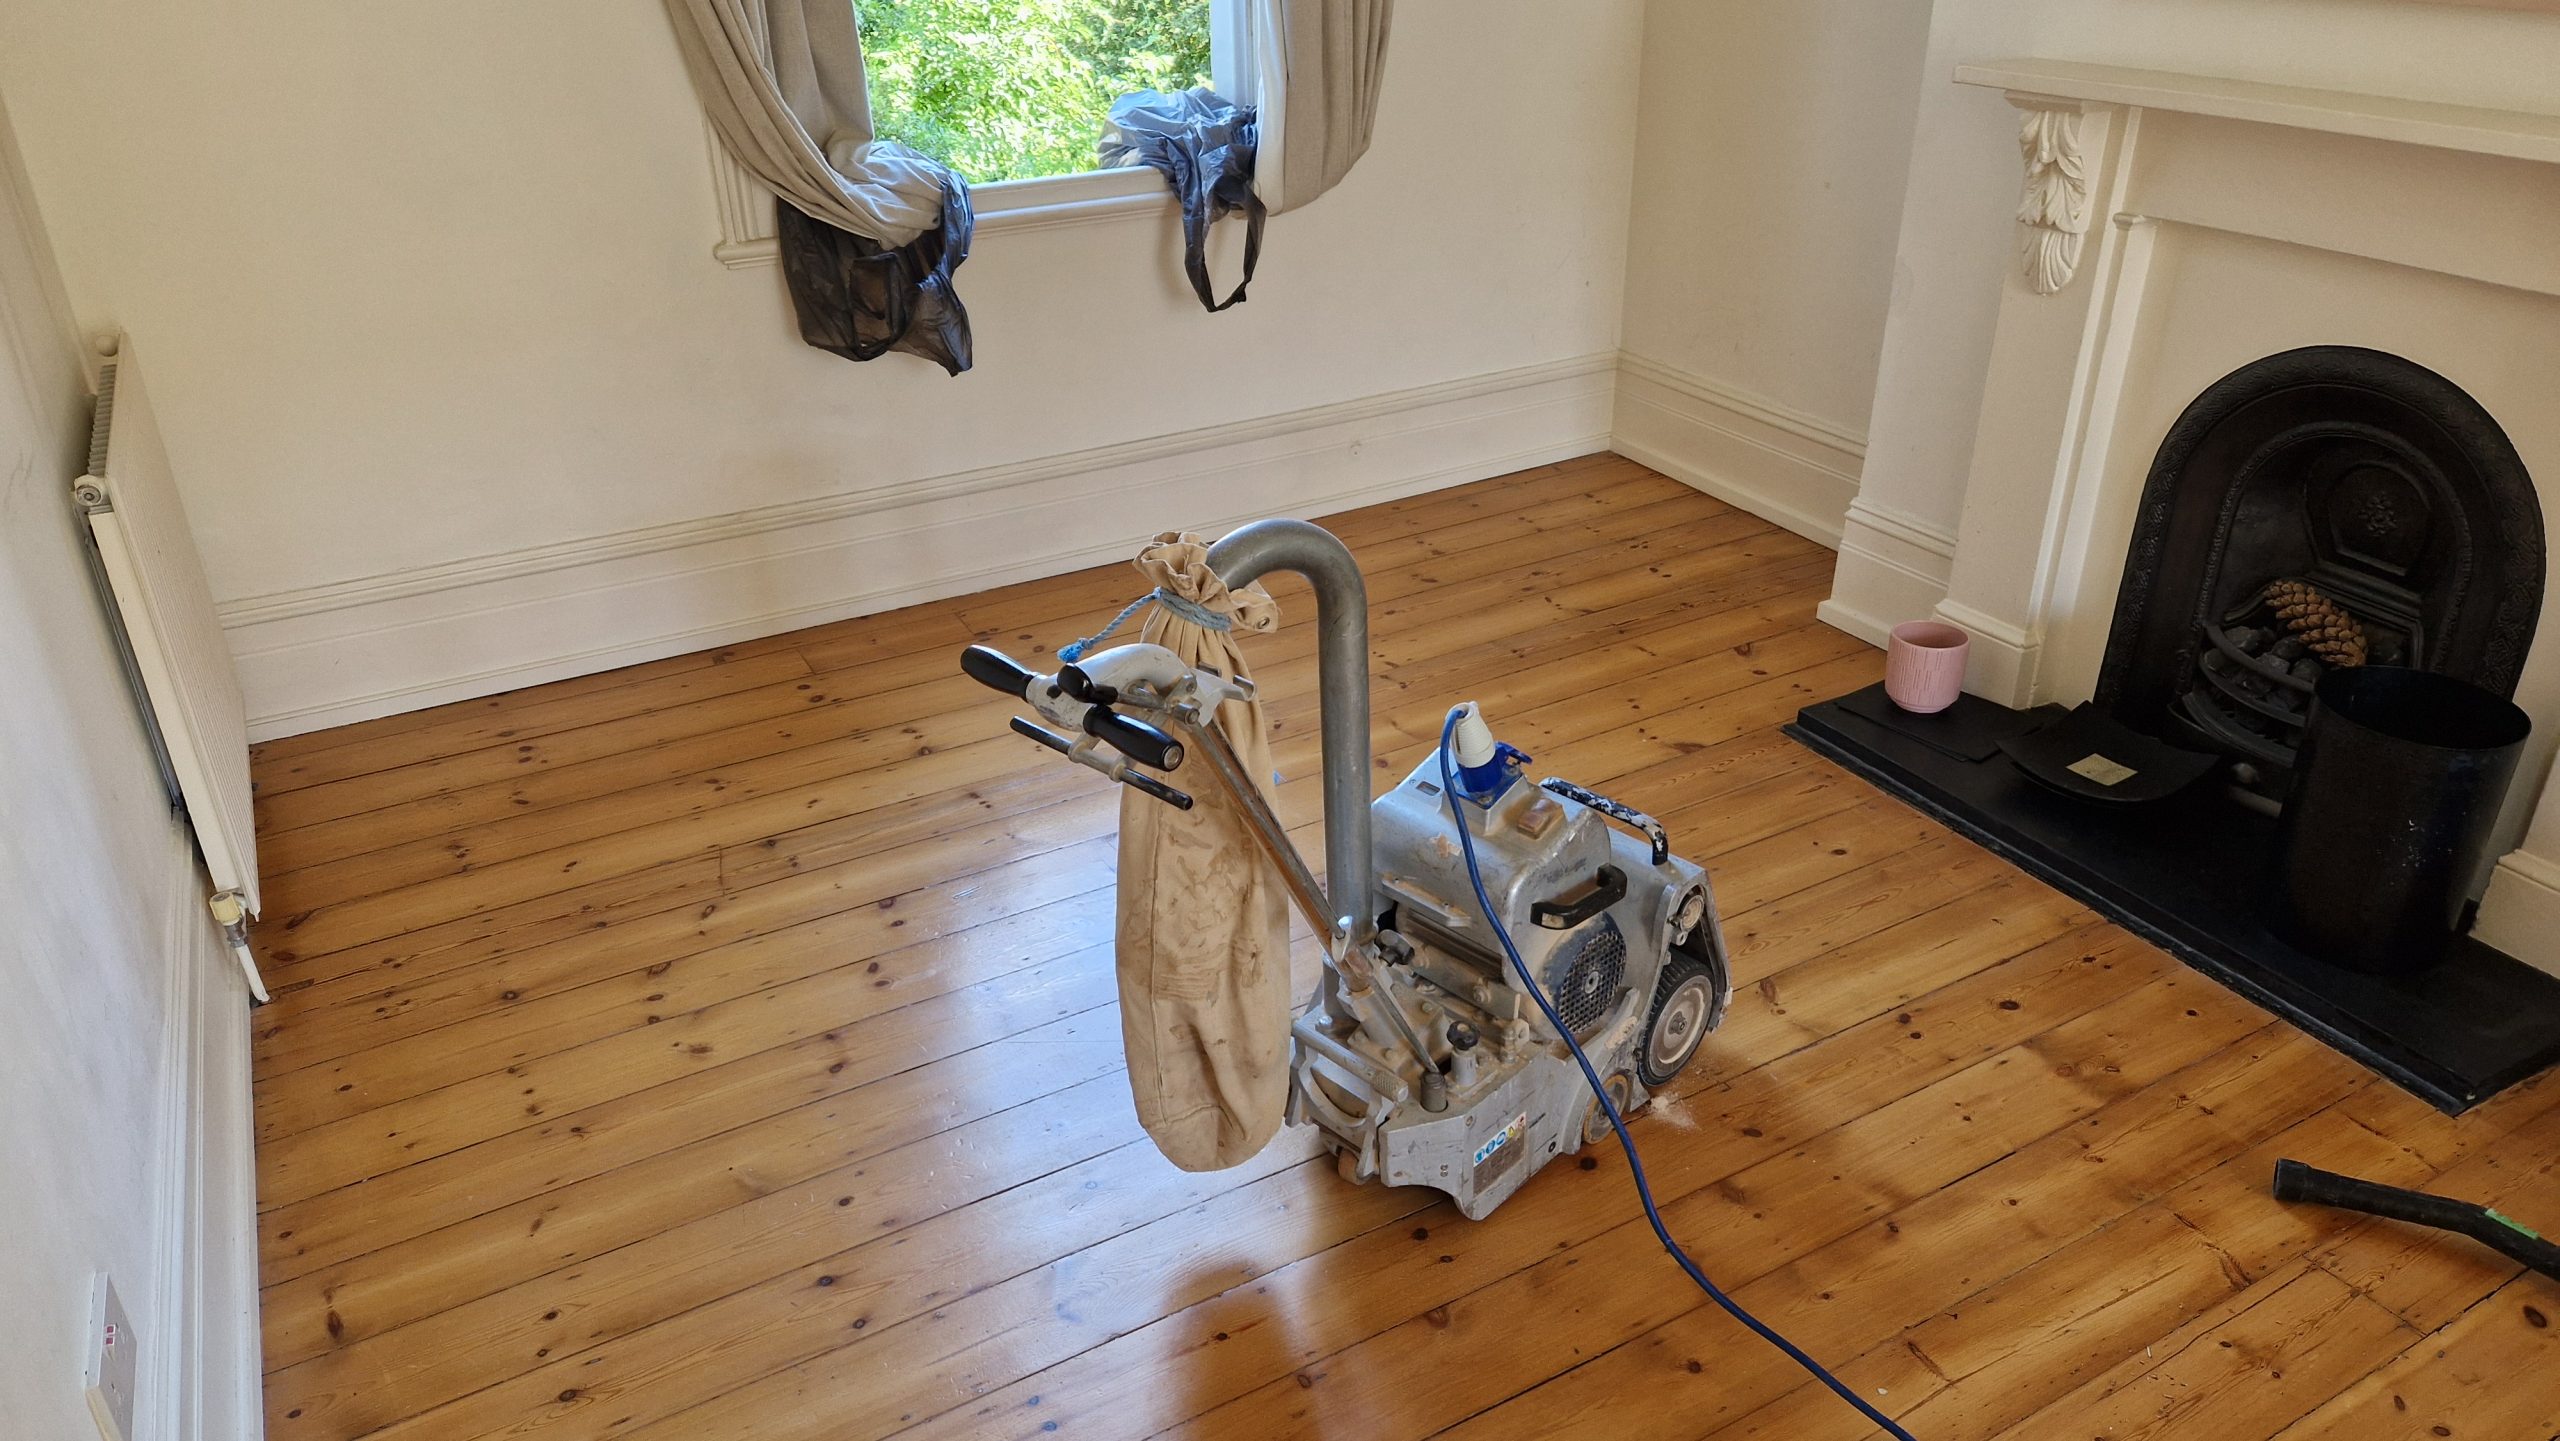
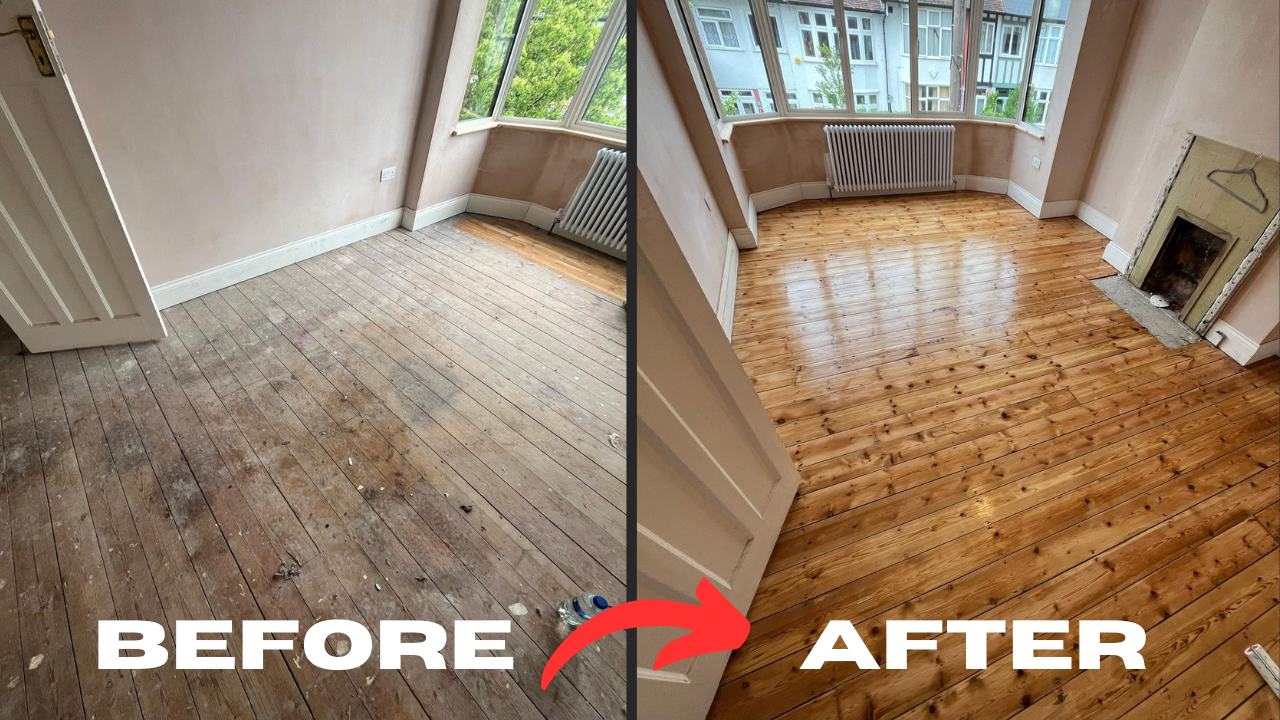
Choosing the right kit is half the battle. Local hire shops along Tottenham High Road usually offer weekend deals:
| Tool | Purpose | Beginner Tip |
|---|---|---|
| Drum (or belt) sander | Rapid stock removal | Practise in an unwanted corner first |
| Edge sander | Gets into skirting lines & corners | Keep it moving—never linger |
| Detail sander / corner attachment | Tight spots, stair treads | Protect skirting with masking tape |
| Industrial vacuum | Captures dust on the fly | Empty regularly to maintain suction |
| PPE | Mask, ear protection, goggles | A dust mask is non-negotiable |
When in doubt, ask the staff for a demonstration or reach out to Wood Floor Sanding Tottenham for advice on machine choice and grit sequence.
3. Preparation: The Key to Perfection
3.1 Clear the Decks
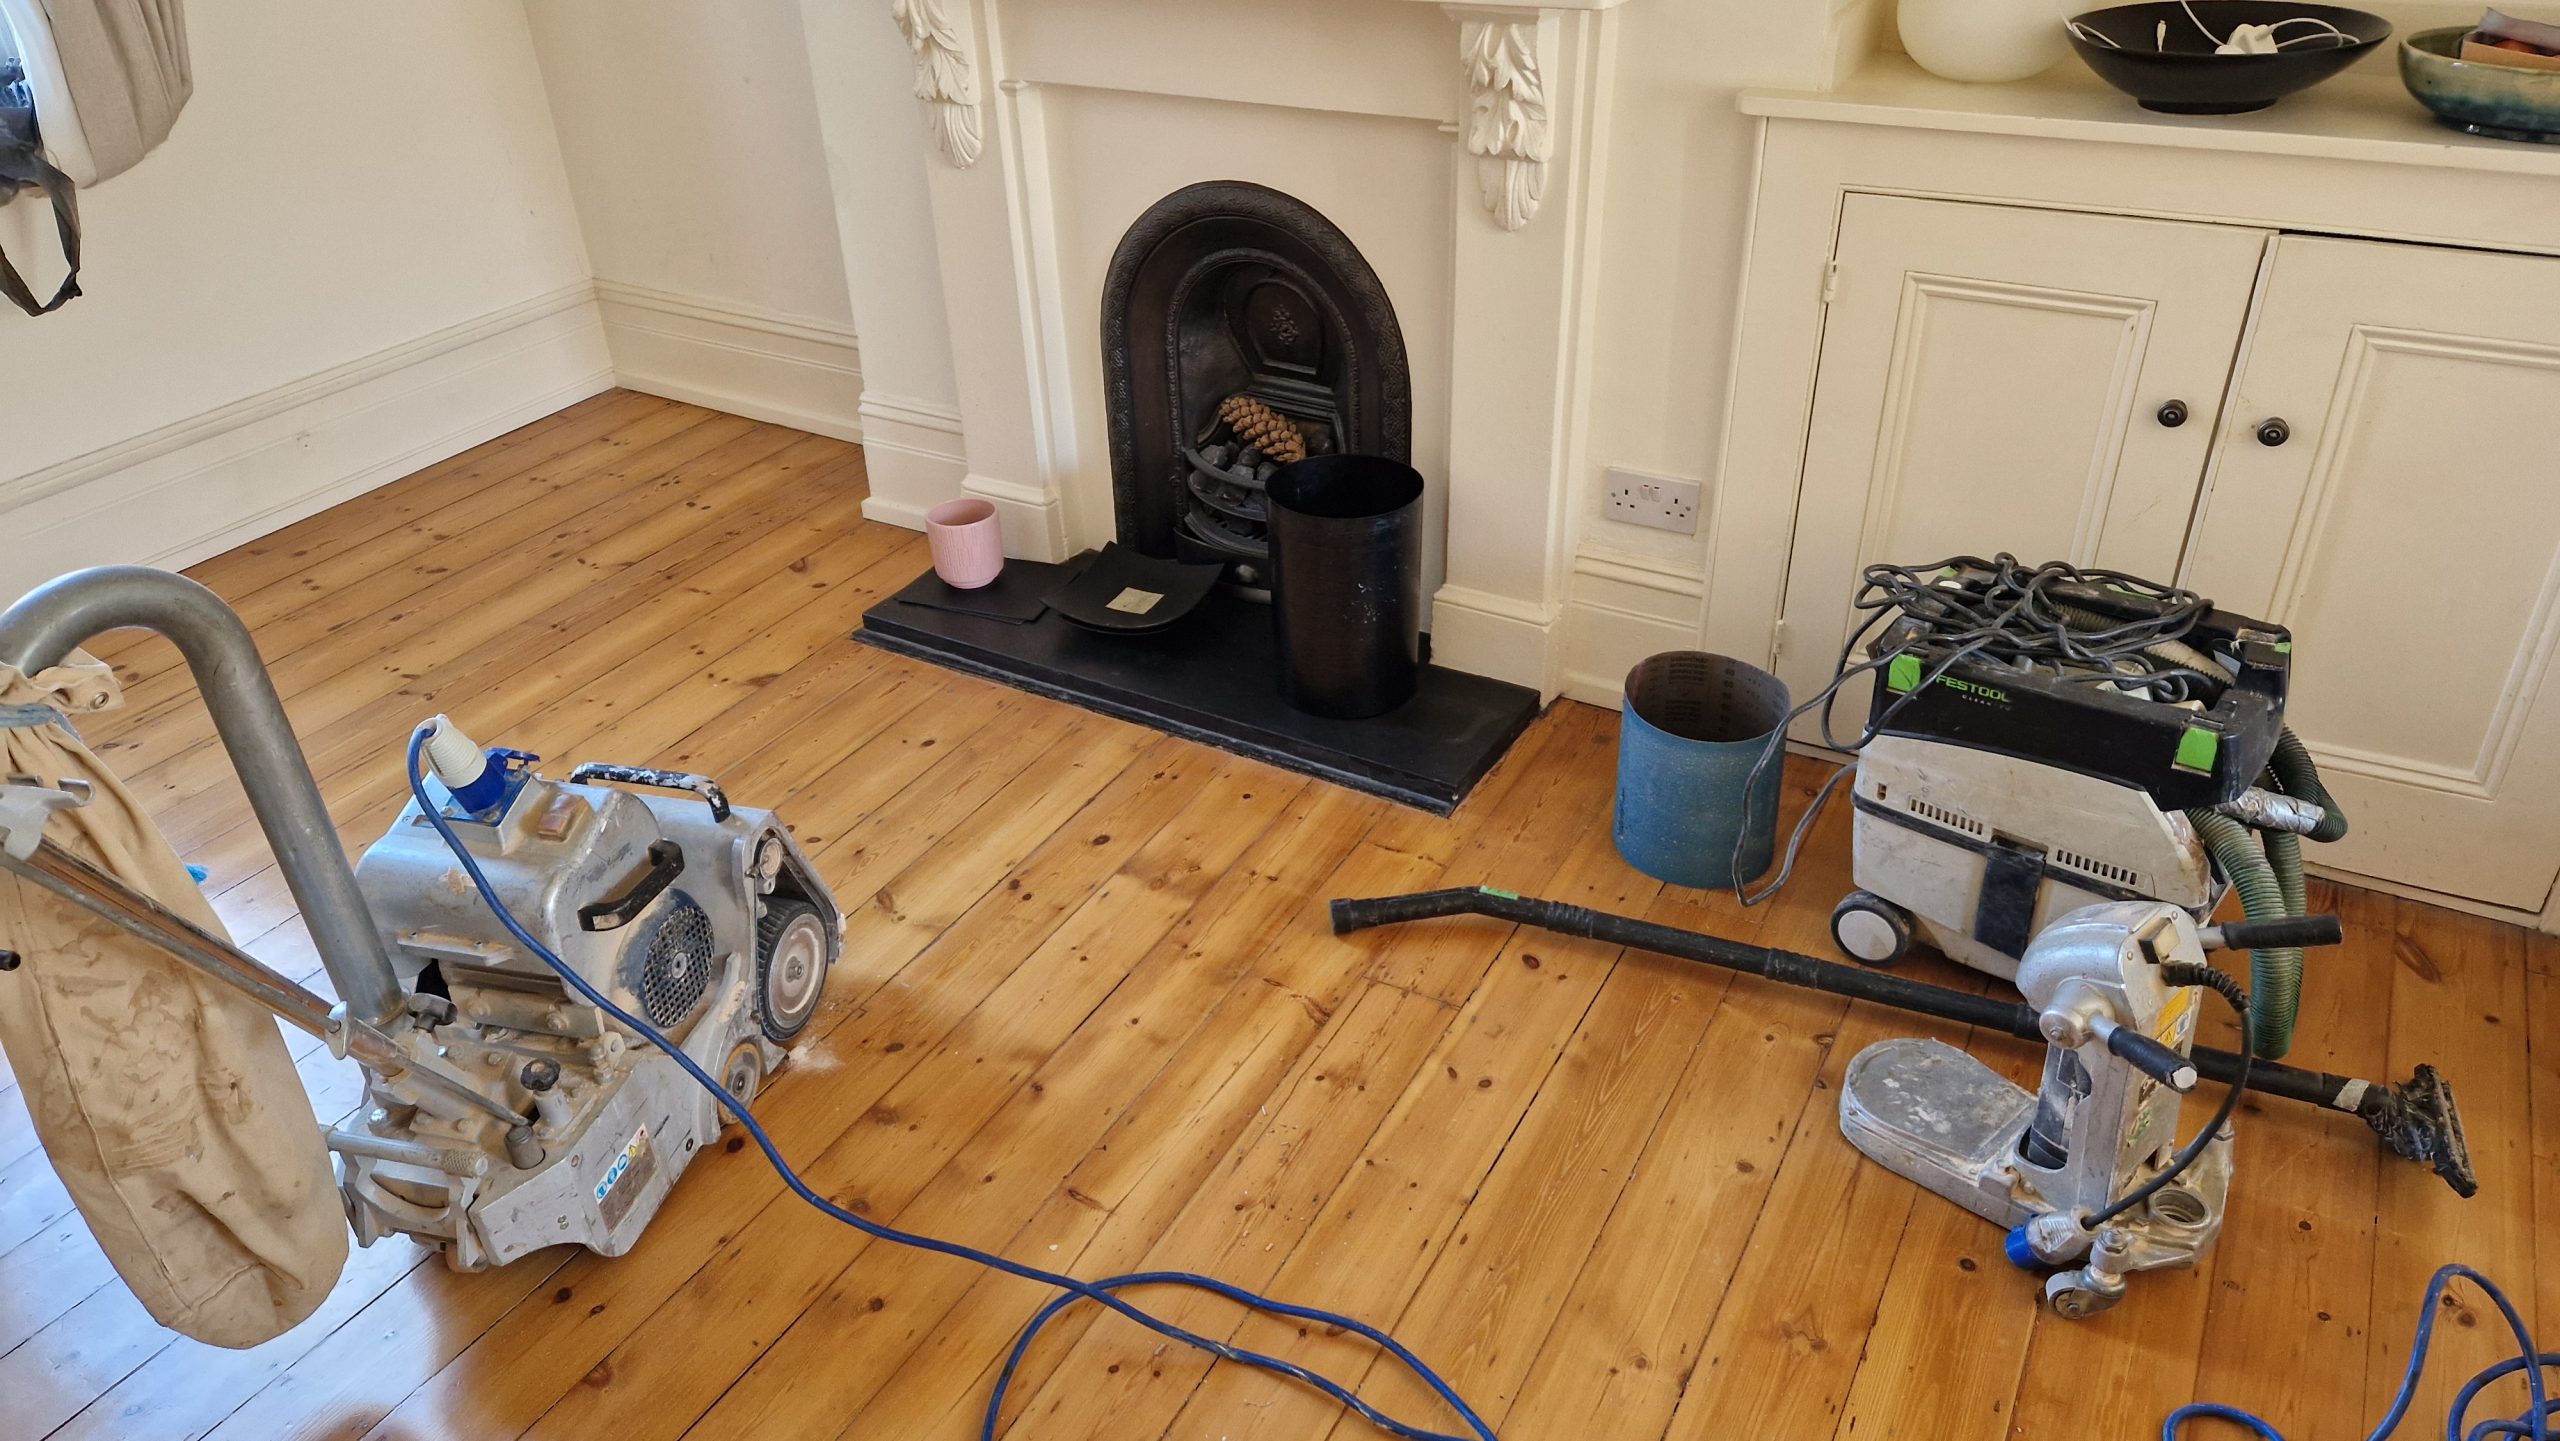
Remove furniture, curtains and any fragile décor. Seal adjacent rooms with dust sheets and painter’s tape; Tottenham’s Edwardian mouldings are beautiful but notorious dust traps.
3.2 Nail Down (Literally)
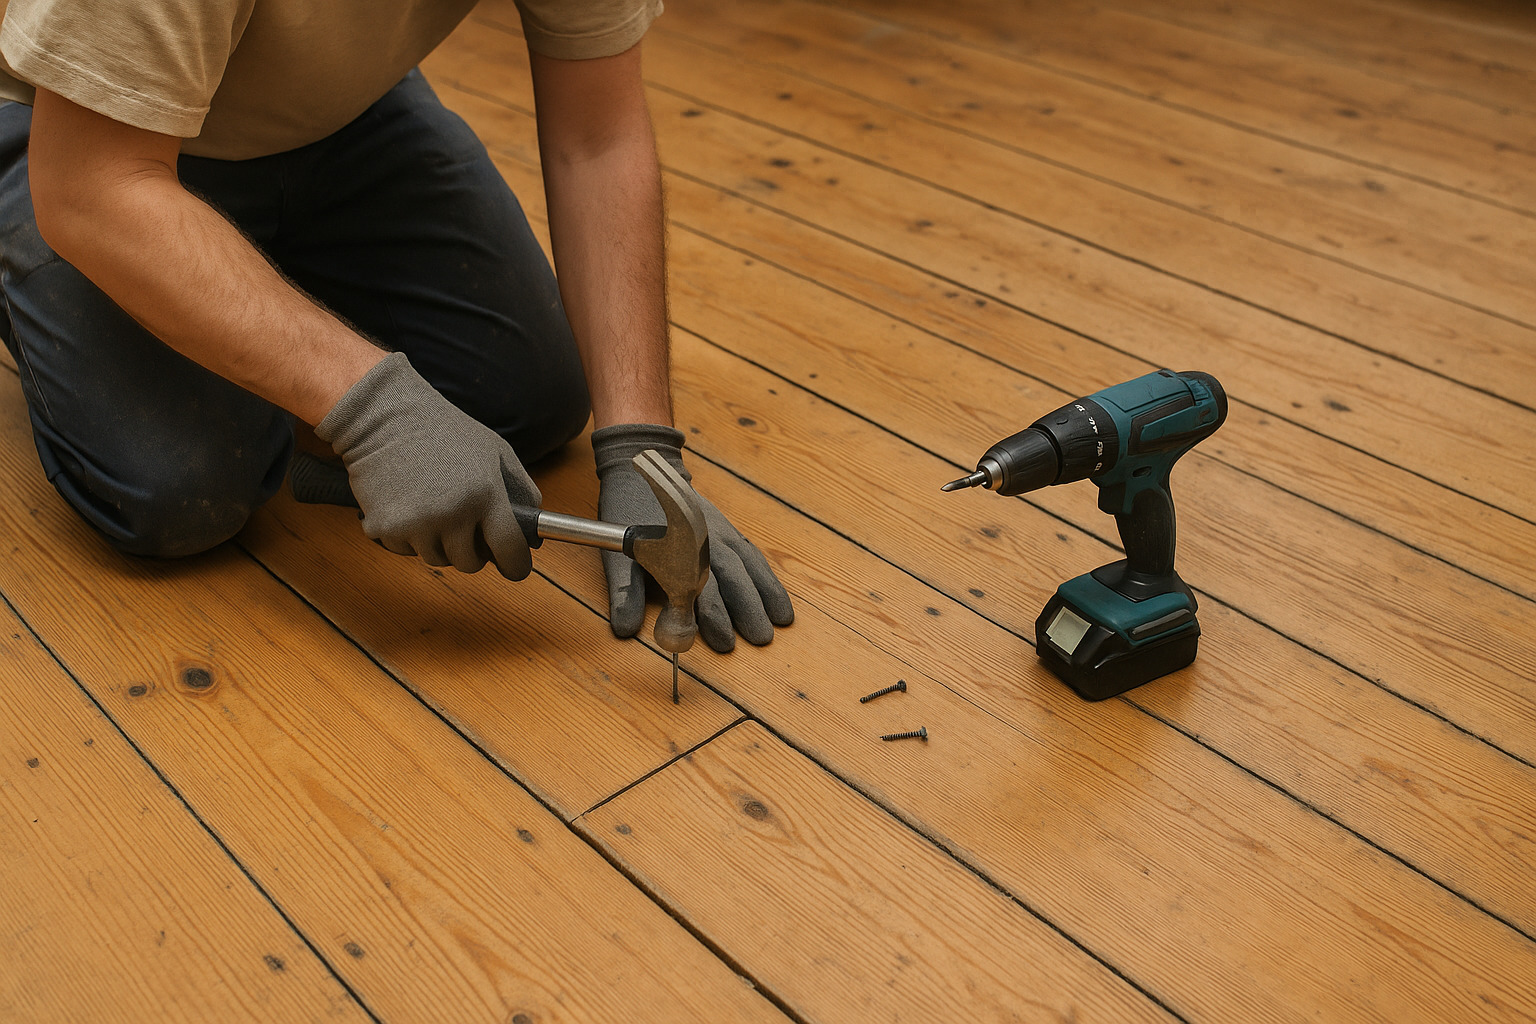
- Punch nails at least 2 mm below the surface.
- Replace broken boards with matching reclaimed timber—Tottenham Reclamation Yard often has stock.
- Fill gaps wider than a pound coin with slivers or flexible filler.
Solid prep prevents machine damage and yields a glass-smooth finish.
4. Step-by-Step Sanding for First-Timers
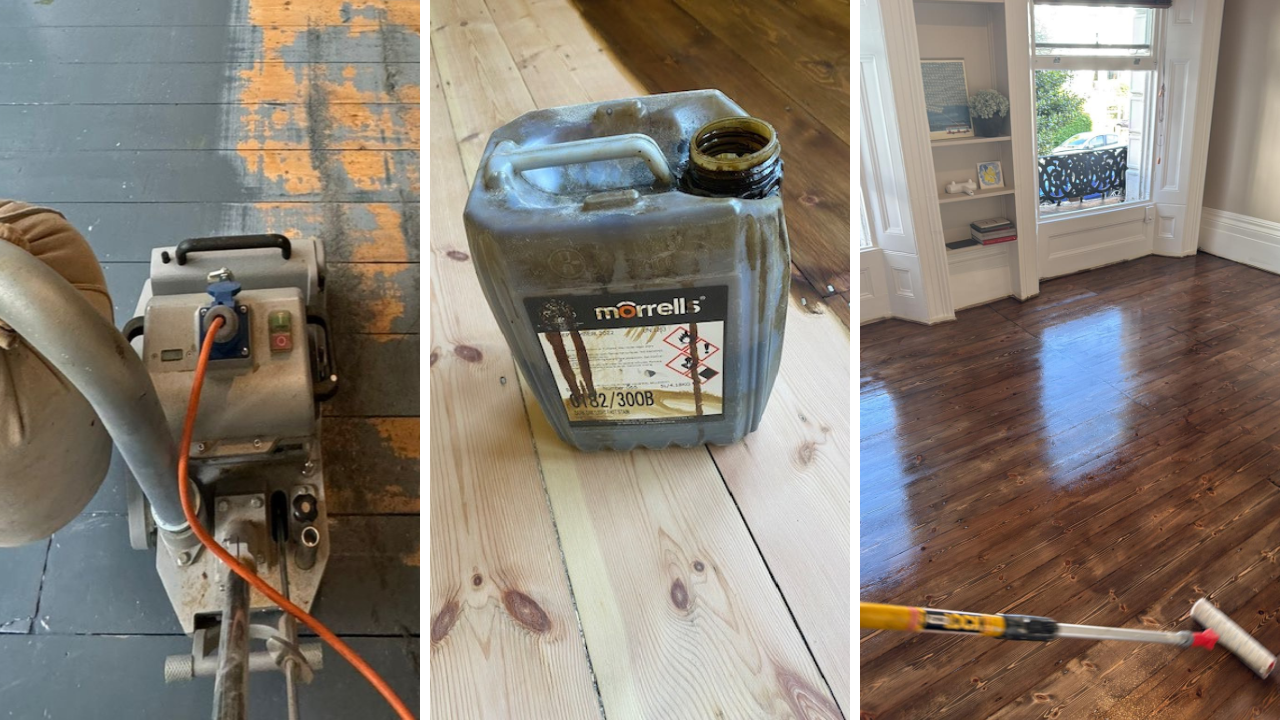
- Start coarse (36–40 grit). Work diagonally across the boards to level undulations.
- Vacuum thoroughly. Residual grit can scar subsequent passes.
- Repeat with 60 grit along the grain.
- Edge sand after each pass. Keep grits in sync with the main sander.
- Fill micro-gaps with resin mixed with fine dust from the 80-grit pass.
- Final smooth (100–120 grit). This is where the grain begins to glow.
Need a visual walk-through? The tutorials at Wood Floor Sanding Tottenham break down each pass with video clips from real North London projects.
5. Safety First
- Wear a Class P2 or FFP2 mask—wood dust is a respiratory irritant.
- Ear defenders are essential; drum sanders hit 95 dB.
- Keep extension leads flat and away from the sanding path.
- Empty the vacuum before it’s full; overheated dust can ignite.
If you notice sparks, burning smells or sudden vibration, cut power immediately and consult Wood Floor Sanding Tottenham for troubleshooting tips.
6. Choosing the Perfect Finish
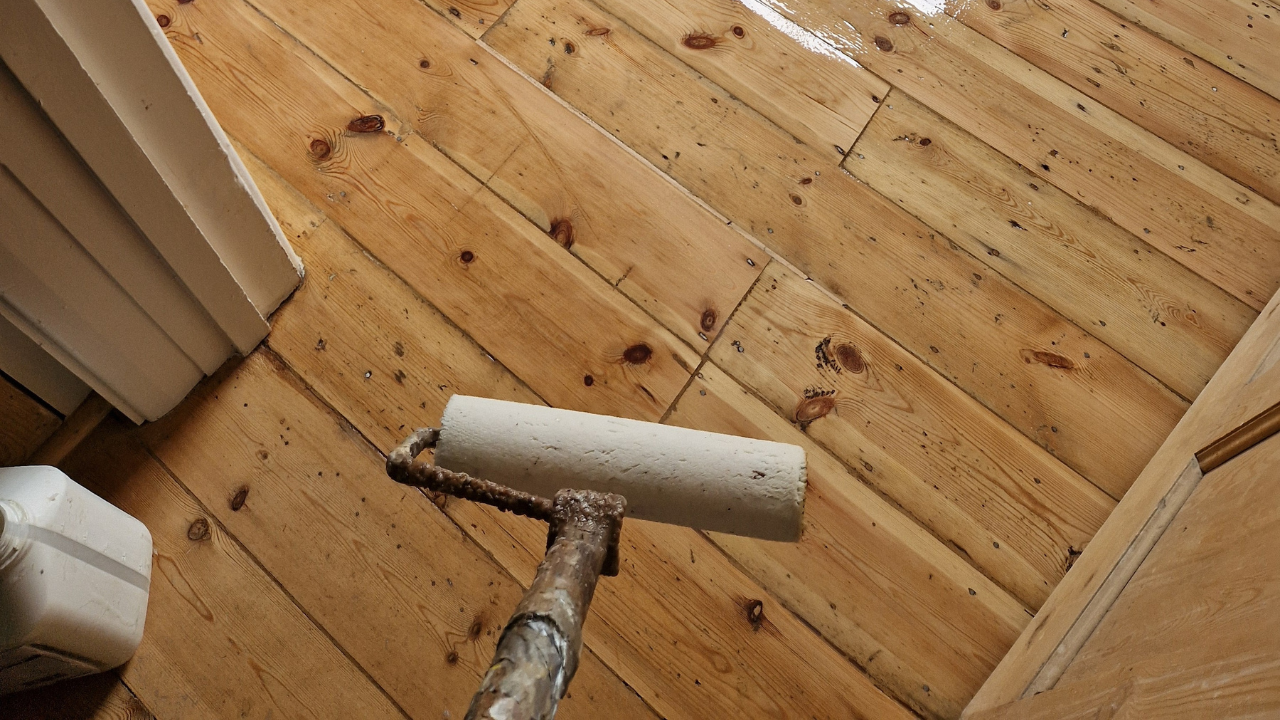
6.1 Oils vs Lacquers
| Finish | Pros | Cons | Best For |
|---|---|---|---|
| Hard-wax oil | Rich, natural look; spot-repairable | Needs refreshing every 18-24 months | Bedrooms, low-traffic lounges |
| Polyurethane lacquer | Tough, high-gloss or satin | Harder to patch; can yellow cheap pine | Hallways, kitchens |
| Hybrid two-part | Commercial durability | Costly; short pot life | Airbnb lets, cafés |
Tottenham homeowners often prefer matt lacquer for a contemporary vibe that stands up to busy family life.
6.2 Colour Considerations
Test stains on an off-cut or inconspicuous corner—the underlying hue of Georgian pine differs markedly from newer Scandinavian oak. Many finish manufacturers now offer sample kits; combine these with the guidance from Wood Floor Sanding Tottenham to avoid expensive surprises.
7. Common Beginner Mistakes (and How to Dodge Them)
- Skipping grits – Jumping from 40 to 100 leaves tell-tale ‘chatters’.
- Lingering too long – Causes divots; keep the machine moving.
- Overfilling cracks – Excess filler pops out once dry.
- Finishing too late in the day – Fading light hides swirl marks.
- Underestimating dust – Clear the room of tech and textiles.
Bookmark the troubleshooting page at Wood Floor Sanding Tottenham if any of these gremlins appear mid-project.
8. When to Call the Professionals
DIY is rewarding, but some scenarios call for expert help:
- Historic parquet with complex herringbone layouts
- Severe cupping or crowning across entire floors
- Toxic old coatings (coal tar, lead paint) needing safe removal
- Tight deadlines—sale completions, tenant move-ins, new baby arrivals
Specialist crews carry industrial-grade dust-extraction and decades of experience. Contact Wood Floor Sanding Tottenham for a free site survey and quotation.
9. After-Care: Keeping That Factory-Fresh Sheen
9.1 Daily & Weekly Routine
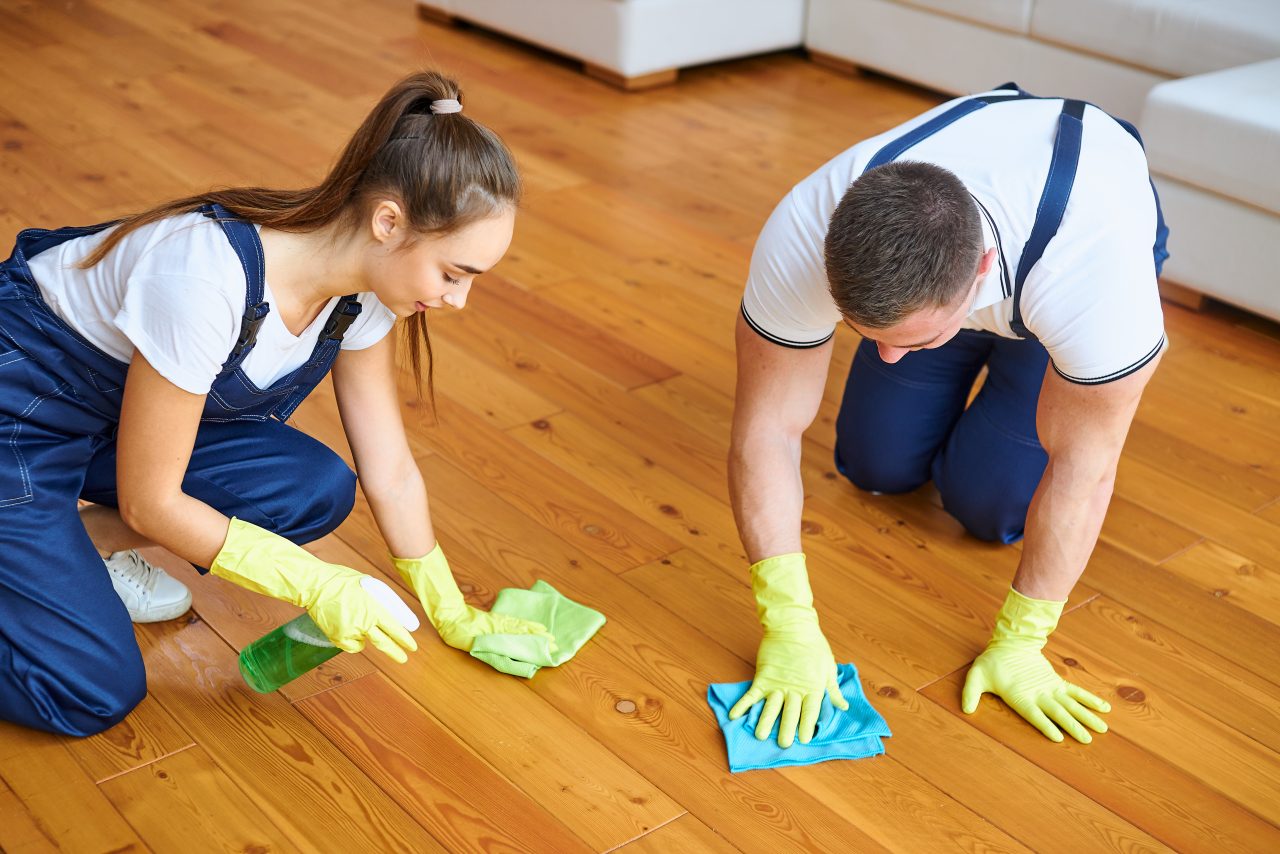
- Soft-bristle broom or microfibre pad captures grit.
- Neutral pH cleaner (never bleach).
- Rugs with non-staining underlay protect high-traffic strips.
9.2 Annual TLC
- Re-oil patches beneath dining chairs.
- Inspect skirting edges for minor movement.
- Attach felt pads to new furniture—Tottenham’s thrifty home stores sell multipacks for a fiver.
Keep maintenance logs; they act as proof of care should you rent or sell the property later.
10. Frequently Asked Questions
Q: How long does the whole process take?
A small bedroom can be sanded and sealed in a weekend. Larger open-plan rooms may need three to four days, allowing for drying times.
Q: Will my home be a dust bowl?
Modern machines and vacuums capture up to 98 per cent of airborne particles. Seal doors and vents, and you’ll be hoovering for minutes—not months.
Q: Can I walk on the floor between coats?
Wear clean socks after the first seal coat has cured (usually four hours). Avoid shoes and pets until the final coat hardens fully.
For more in-depth answers, the resource section at Wood Floor Sanding Tottenham is updated weekly.
Conclusion:
From creaky boards to showroom splendour, sanding breathes new life into any wooden floor. With patient preparation, the right kit and a respect for dust control, even a complete novice can achieve a finish to rival the pros. And remember—if time, technique or tricky parquet threaten to derail your project, Wood Floor Sanding Tottenham is only a phone call away. Book an expert consultation today, and let your floors become the talking point of your Tottenham home.