Expert Wood Floor Sanding Techniques That Revive Character and Value
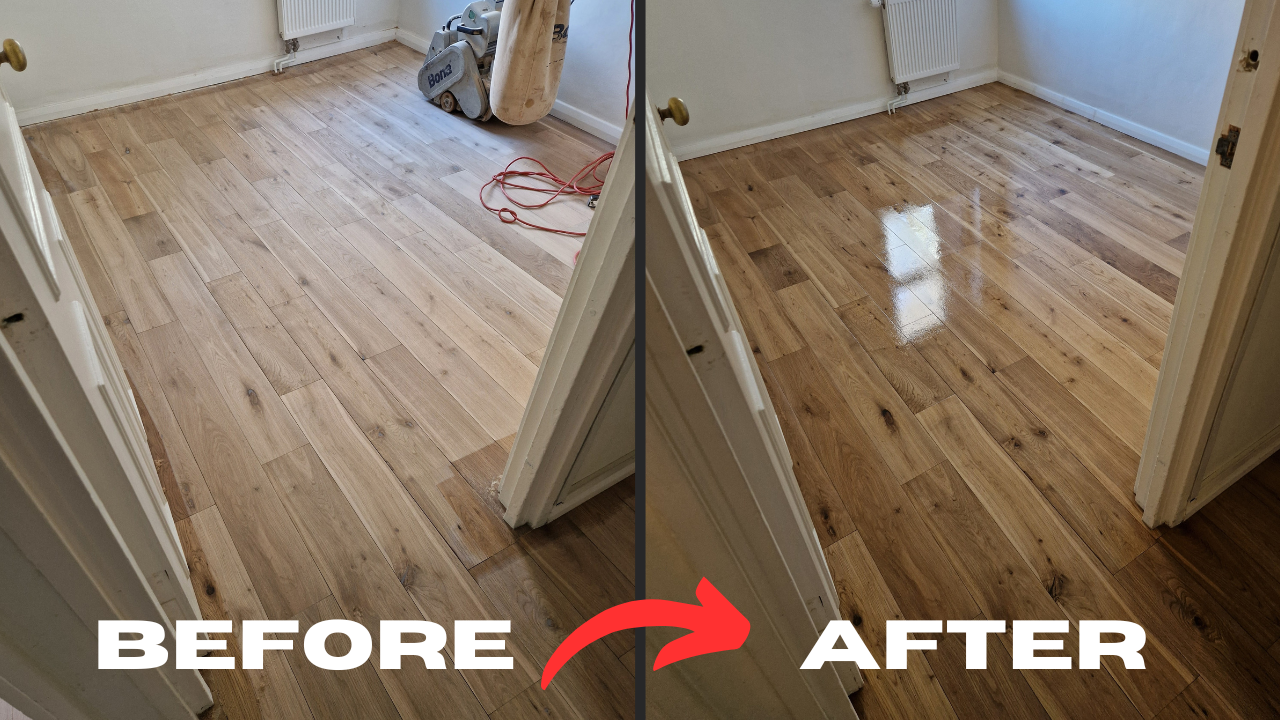
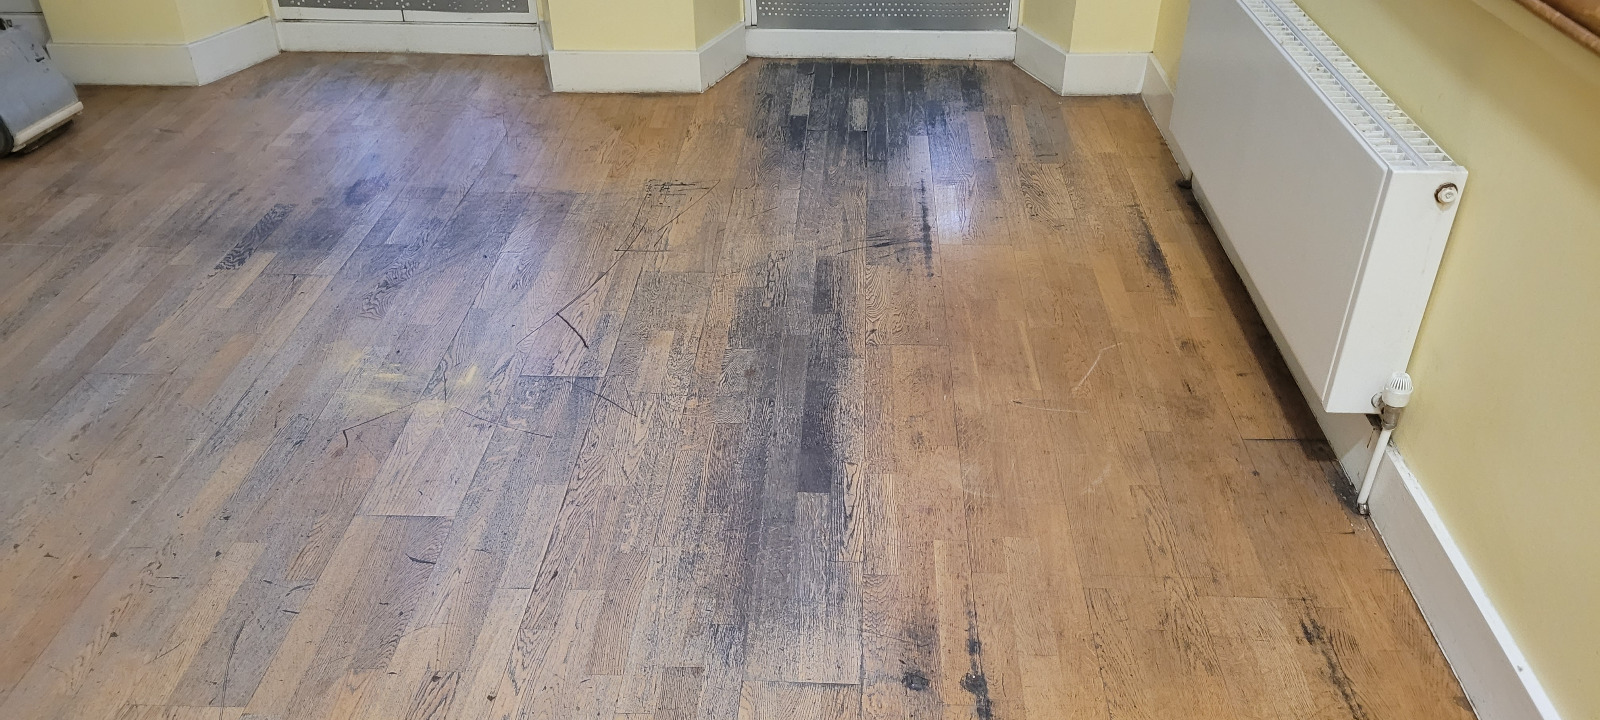
Timber floors tell the story of a home. Under decades of scuffs, ingrained dirt and faded varnish lies grain that once glowed warmly across Tottenham’s Victorian terraces, Edwardian maisonettes and new-build apartments. When those boards begin to look dreary, many homeowners assume replacement is the only remedy—yet ripping them out is costly, disruptive and environmentally wasteful. There is a more sustainable route: letting specialist Wood Floor Sanding uncover the character already beneath your feet and elevate an ordinary interior into a showpiece.
In this in-depth guide we will explore why age and lifestyle dull timber, how professional sanding restores both beauty and value, and what to expect at every stage of the journey. Real Tottenham case studies, expert maintenance advice and practical planning tips will equip you to make confident decisions—whether you’re reviving a buy-to-let flat near Bruce Grove or your forever family home off Lordship Lane.
Why Timber Floors Lose Their Sparkle
Everyday Wear Meets Environmental Factors
Hardwood is resilient, but day-to-day life tests it relentlessly. Grit on shoes acts like sandpaper, chair legs leave compression marks, and sunlight oxidises finishes until their original tone looks patchy. Tottenham’s mixed climate—damp winters and ever-warmer summers—adds further stress. Moisture creeps through gaps, boards expand and contract, varnish cracks, and the once-sleek surface grows rough beneath bare feet.
Historic Coatings Hide Natural Beauty
Many period houses still carry thick layers of shellac, wax or yellowed polyurethane laid down decades ago. These opaque films dim the grain and lock in scratches. Homeowners often attempt a quick cosmetic fix with yet more varnish, but layering only deepens the dullness and traps dirt between coats.
Floor Coverings Do Long-Term Damage
Wall-to-wall carpet, a 1970s favourite, traps moisture and spills against the wood, creating black mildew stains. Self-adhesive vinyl tiles pull away fibres when removed. Even heavy rugs can abrade high-traffic zones, producing irregular wear and unsightly colour differences. When coverings finally come up, owners are shocked by the patchwork beneath.
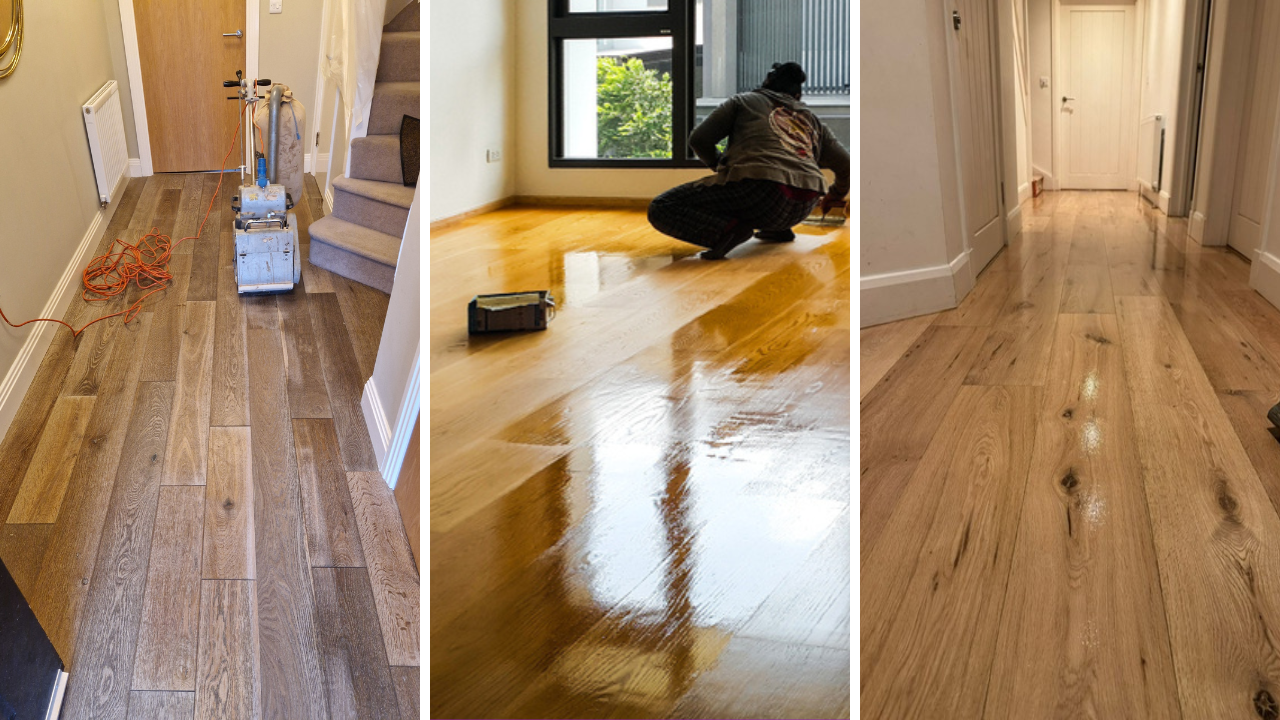
From Drab Boards to Bright Statements: Real-Life Tottenham Transformations
Nothing illustrates potential better than seeing it realised. Below are three projects that prove how a tired floor can become a design focal point.
- Victorian Terrace in Downhills Park
Challenge: Deep pet scratches and black ring stains from an old radiator leak.
Solution: Boards were numbered, lifted, and the worst planks flipped to hide damage on the underside. After precise sanding and a water-based satin lacquer, the honey-toned pine looked freshly milled.
Result: Estate agents estimated a five-figure increase in resale value, citing the restored floor as the “wow factor” that set the house apart. - Modern Loft Conversion off Tottenham High Road
Challenge: Factory-finished oak already looked dated after ten years; the client wanted a Scandinavian aesthetic.
Solution: Targeted Wood Floor Sanding to 120-grit, then a Nordic white oil that lightened the grain without obscuring it.
Result: The lighter surface amplified natural loft light, making the space feel twice as large. - Edwardian Maisonette in Bruce Castle
Challenge: Parquet blocks hidden under carpet, riddled with bitumen adhesive.
Solution: Infra-red heat plates softened residues; careful scraping prevented splintering. Progressive sanding and a hard-wax oil revived the herringbone pattern.
Result: The owners saved thousands compared with buying new parquet and retained a period feature now impossible to replicate affordably.
The Sanding Journey: Step by Step
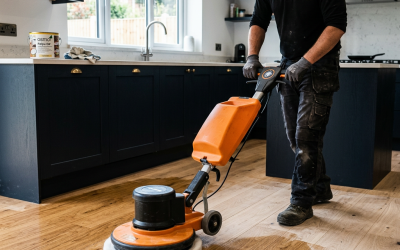
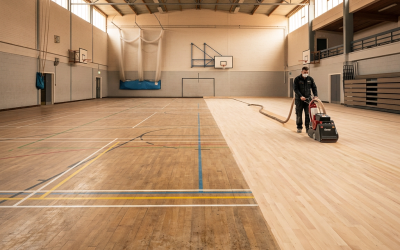
Professional Wood Floor Sanding is a craft rather than a single machine pass. Understanding each stage helps you plan and evaluate quotations confidently.
- Survey and Moisture Testing
Trained technicians inspect board thickness, nail depths and subfloor stability. Moisture metres verify that timber is within safe limits—8 %–12 % for most hardwoods—before sanding begins, protecting against cupping or crowning later. - Site Preparation
Skirting boards are masked, doors removed, and furniture either moved out or sealed in antistatic plastic. This protects belongings and speeds workflow. - Rough Cut (24–40 Grit)
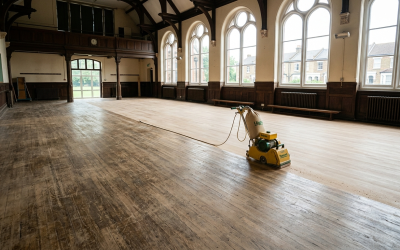
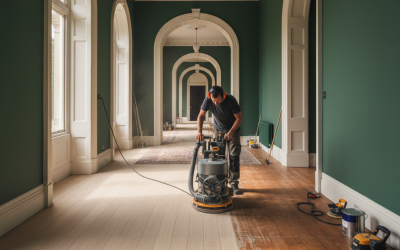
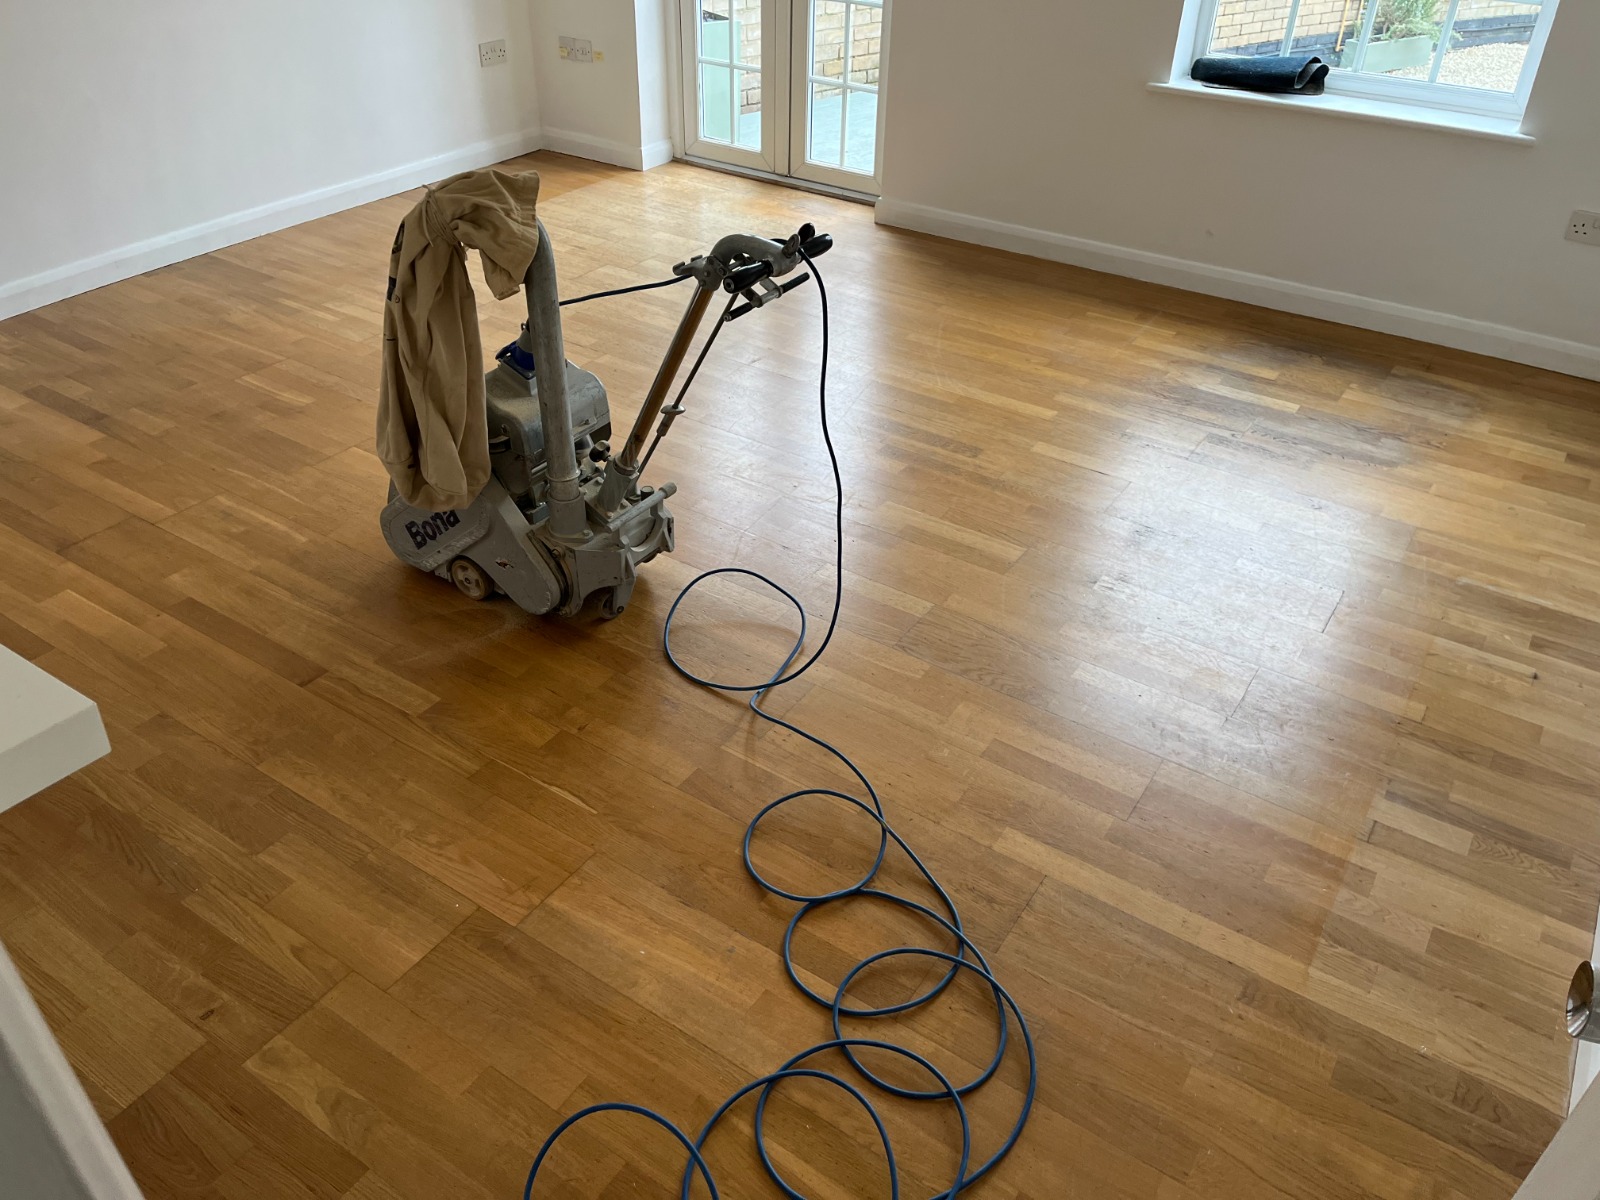
Initial passes level the floor, strip finishes and expose raw wood. The drum or belt sander travels with the grain to avoid cross-scratches. - Medium Cut (60–80 Grit)
Remaining finish traces vanish, and minor cup marks are planed out. Edgers reach into corners, while a corner detail sander tackles right angles the bigger machines miss. - Fine Cut (100–120 Grit)
Higher grits close the grain, creating an even, silky surface ready for finishing. A final screen-and-vacuum removes micro-dust invisible to the eye. - Staining (Optional)
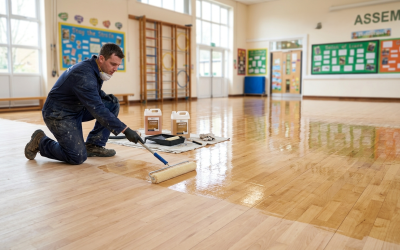
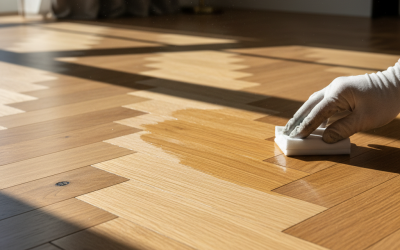
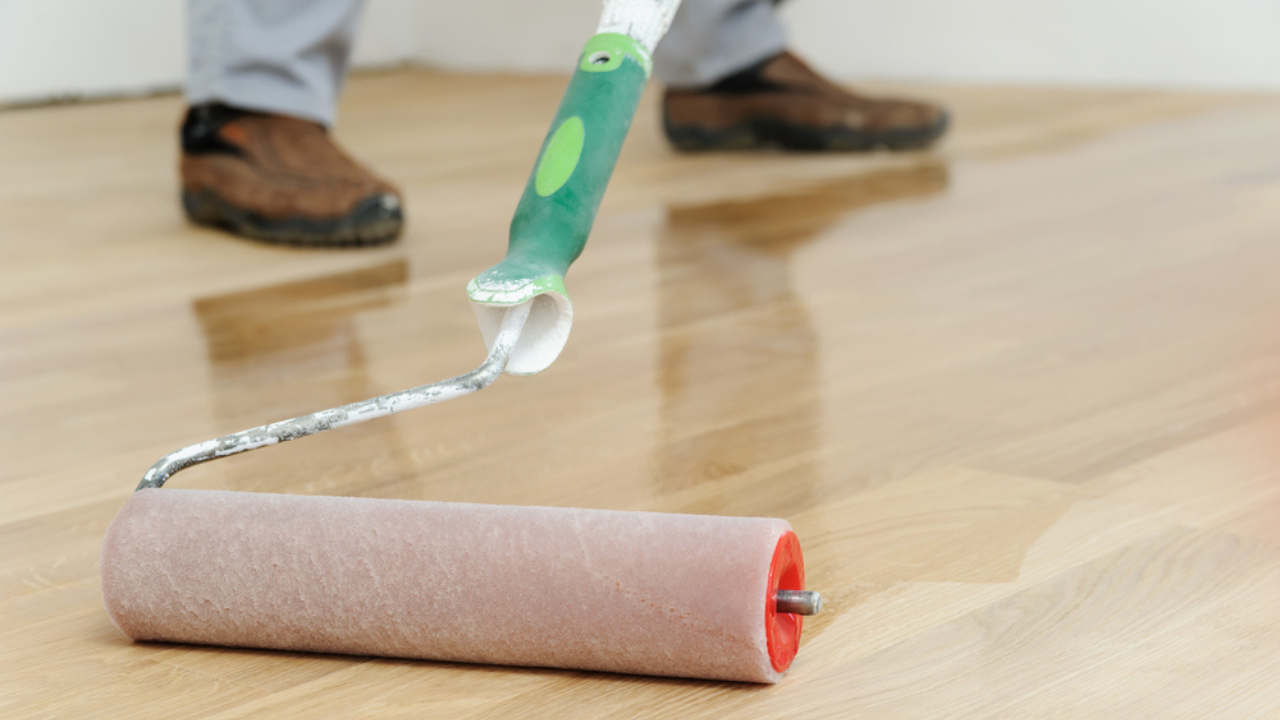
Pigmented oils or water-based stains alter colour without masking grain. Test patches confirm tone under site lighting. - Sealing and Top Coats
Polyurethane, hard-wax oil or hybrid finishes are applied in multiple thin layers, each abraded lightly for adhesion. Dry times vary from 20 minutes for modern LED-cured coatings to 24 hours for traditional oils.
Modern Dust-Control Methods Keep Homes Clean
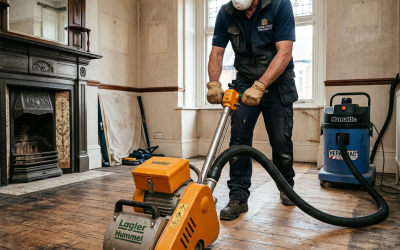
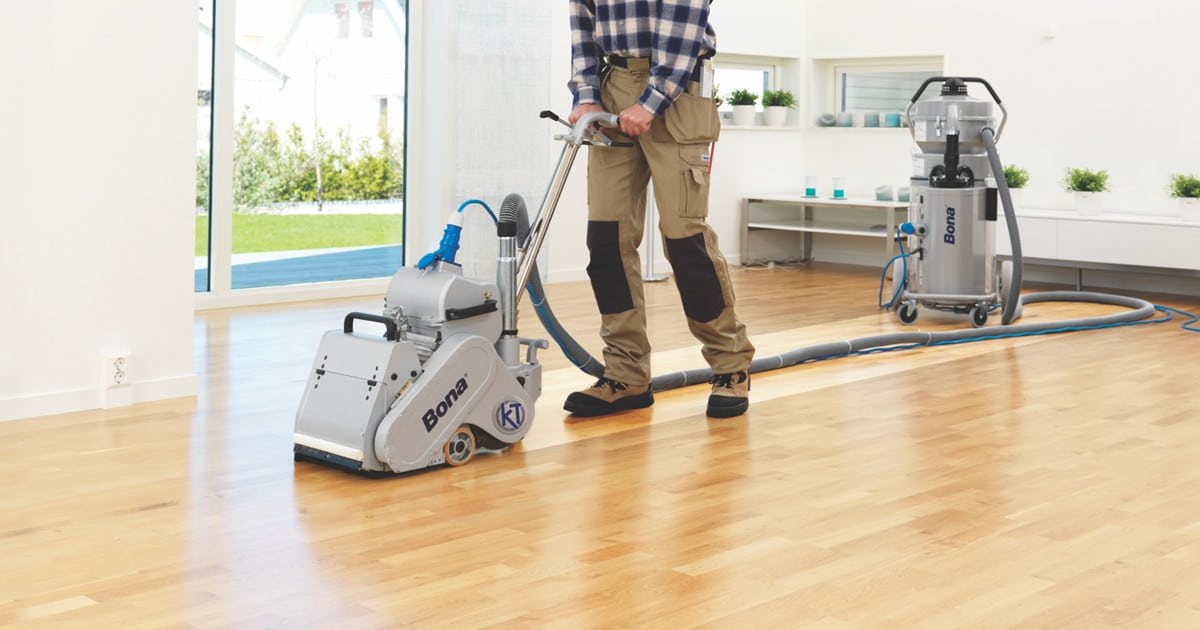
Long gone are the days when sanding filled every room with a choking fog. Thanks to advances, Wood Floor Sanding now employs high-powered mobile extractors that capture up to 98 % of airborne particles at source. HEPA filters trap even the finest respirable dust, protecting asthma sufferers and keeping freshly painted walls pristine.
Technicians also deploy negative-air machines that vent residual particles outside, and they finish with a tack-cloth wipe before any sealant coats. In most cases, families can stay in adjacent rooms throughout, returning to normal life far faster than during other renovation works.
Professional Expertise versus Weekend DIY
Attempting Wood Floor Sanding with a hire-shop machine may look cost-effective, but hidden pitfalls often inflate the final bill:
- Uneven Drum Pressure – Consumer sanders lack the calibrated weight distribution of trade units, risking ripples known as “chatter marks”.
- Incorrect Grit Sequence – Skipping grits leaves swirl patterns that only resurface once the finish dries—by then, rectification means starting over.
- Dust Management – Domestic vacuum bags clog quickly, reducing suction and scattering debris that can lodge under varnish as gritty specks.
- Time Costs – A professional team can sand, seal and hand back a three-bedroom floor in two days; a novice may stretch the job over successive weekends, prolonging disruption.
After factoring equipment rental, consumables, and potential rework, many Tottenham owners find that expert help offers stronger value and significantly less stress.
Looking After Your Newly Revived Timber
Proper after-care ensures the results of your Wood Floor Sanding investment endure for decades rather than years.
- Adopt a ‘Shoes-Off’ Policy
Grit is the enemy. Ask family and visitors to leave outdoor footwear at the door, and place absorbent mats to capture moisture. - Use PH-Neutral Cleaners
Household detergents can dull finishes or leave sticky residues. Opt for specialist wood-soap solutions, diluted as directed. - Maintain Relative Humidity
Aim for 40 %–60 % indoor humidity year-round. A compact dehumidifier in winter and gentle air-circulation in summer will minimise board movement. - Install Felt Pads
Stick pads under chair and table legs, replacing them every six months. This inexpensive habit prevents hairline scratches that accumulate over time. - Refresh the Finish
Depending on traffic, a light re-coat every three to five years extends protection without repeat sanding. Spot-repair scratches promptly so water cannot penetrate to the timber.
Conclusion:
Whether you cherish the patina of century-old pine or the crisp lines of contemporary oak, your floor sets the tone for everything above it. Skilled sanding acts like a time machine, returning boards to the day they were first laid—sometimes better, thanks to modern finishes that resist UV fade and daily wear. Beyond aesthetics, revitalised timber supports sustainability. Keeping wood in service reduces landfill waste and the carbon footprint of harvesting new material. It also enhances property value in one of London’s most competitive housing markets—a sound financial decision wrapped in craftsmanship. If your living space feels lacklustre, look down. Under fading varnish or tired laminate could be a stunning canvas awaiting rediscovery. With thoughtful preparation, clear communication and the right professional partner, you can journey from dull to dazzling and enjoy the warmth, depth and authenticity of beautifully renewed timber for years to come.